
Tell us about your project and we’ll follow up with a clear, no‑pressure quote and timeline.
The short version
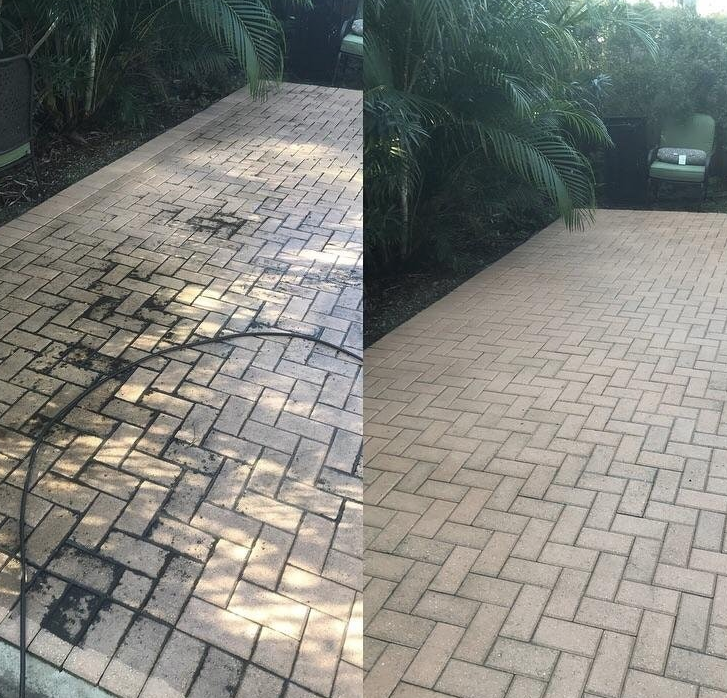
Paver sealing looks simple from the outside: clean it, let it dry, roll on a sealer. In practice, it’s a project where small mistakes are either permanent or expensive to fix, and most of the mistakes that ruin a DIY job happen before the sealer ever goes on, during cleaning and drying, not during application itself.
A proper job needs a rotary surface cleaner (not just a pressure washer wand, which streaks unevenly), a way to fully dry the pavers before sealing (often 24 to 48 hours minimum in South Florida humidity, longer after rain), polymeric sand and a compactor or hand tamper for the joints, and enough sealer plus a sprayer or roller to apply it evenly without pooling. Add in the safety gear for working with sealer chemicals and the truck or trailer space to haul it all, and the equipment cost alone often approaches what a single professional job costs.
The single most common DIY failure is a cloudy, white haze across the sealed surface. It happens two ways: sealing pavers that aren’t fully dry underneath, even if the surface looks dry, trapped moisture pushes up through the sealer and clouds it, or leaving polymeric sand dust on the paver surface instead of fully blowing it off before sealing, which gets sealed in as a permanent haze. Once that sealer cures, the haze doesn’t wash off. Fixing it means stripping the sealer entirely and starting over, which costs more than just hiring a professional the first time would have.
Beyond the application itself, an experienced crew spots problems before they seal over them: a slightly sunken paver that will only get worse, joints where sand has fully washed out and needs replacing rather than topping off, efflorescence or organic staining that needs chemical treatment first, or a paver material, like travertine, that needs a completely different sealer type than what you’d grab off a shelf. Sealing over any of these issues doesn’t fix them, it just locks them in under a fresh coat for another 2 to 3 years.
DIY isn’t unreasonable for everything. A small paver edging strip, a single-step landing, or a tiny patio under 100 square feet is a reasonable weekend project if you’re comfortable with the prep work and use a quality penetrating sealer rather than trying to match a professional wet-look finish. Where DIY gets risky is full driveways, pool decks, and anything where an uneven result or a slip-hazard mistake is a real problem, not just a cosmetic one.
DIY sealer, rental equipment, and sand for an average driveway often runs $300 to $600 in materials alone before accounting for your time, and that’s before any redo if something goes wrong. A professional clean-and-seal typically runs $1.25 to $3.50 per square foot in South Florida, done right the first time, with the base and joints properly addressed. For a lot of homeowners, the gap is smaller than expected once equipment rental and the risk of a redo are factored in.
If you’re on the fence, ask any contractor you’re considering how they handle drying time before sealing, what they do about joint sand removal from the surface, and whether they inspect for sunken or shifted pavers before starting. Their answers usually tell you within thirty seconds whether they actually know what they’re doing.
Not sure whether your project is DIY-reasonable or not? See our paver sealing service page or request a free estimate and we’ll give you an honest read on your specific pavers.
| Line Item | DIY (Rental + Materials) | Professional |
|---|---|---|
| Surface cleaner rental (1-2 days) | $60-$100 | Included |
| Pressure washer (if not owned) | $80-$150 rental | Included |
| Polymeric sand (per 500 sq ft) | $80-$150 | Included |
| Sealer (per 500 sq ft) | $120-$250 (retail grade) | Professional-grade, included |
| Sprayer/roller/applicator | $30-$80 | Included |
| Your time (avg. weekend project) | 8-14 hours over 2-3 days | 0 hours, typically done same day |
| Redo risk if something goes wrong | Full materials cost again + stripping | Covered by workmanship warranty in most cases |
| Total for ~500 sq ft driveway | $370-$730 + your time | ~$625-$1,750 (500 sq ft at $1.25-$3.50/sq ft) |
A rotary surface cleaner (the round, spinning attachment you see professionals using) cleans in overlapping circular passes at a consistent distance from the surface, which is what produces an even clean without the streaking a hand-held pressure washer wand leaves behind. Wand-cleaning is nearly impossible to keep perfectly consistent across a large surface by hand, and any unevenness in the cleaning shows through even more clearly once sealer is applied, since sealer enhances contrast and color, including uneven cleaning patterns. This single piece of equipment is often the biggest gap between a DIY result and a professional one, more than the sealer product itself.
Beyond the visible risks like white haze or uneven finish, there’s a less obvious one: if a DIY-sealed surface becomes unexpectedly slippery and someone gets hurt, whether that’s a guest, a delivery driver, or a family member, that’s a liability that falls entirely on the homeowner. Licensed contractors carry liability insurance specifically for this reason, and a workmanship warranty typically covers a redo if the sealer fails prematurely due to application error. When you’re doing it yourself, there’s no safety net for either the injury risk or the cost of a failed job.
This isn’t meant to scare anyone away from a small, low-traffic DIY project, a garden path or a step landing carries minimal risk either way. It’s specifically relevant for driveways, entryways, and pool decks, surfaces where a lot of people, including people who don’t know the surface was just sealed, are walking regularly.
It’s almost always one of two things: sealing pavers before they were fully dry underneath, or leaving polymeric sand dust on the surface instead of fully blowing it off before applying sealer. Once cured, the haze is locked in and doesn’t wash away.
Usually not easily. Fixing it typically means stripping the sealer with a chemical stripper and starting the process over, which costs more in time and materials than doing it right the first time.
Sometimes, but the gap is smaller than it looks. DIY materials and equipment rental for an average driveway often run $300 to $600, and that doesn’t include your own time or the cost of redoing it if something goes wrong.
Generally 24 to 48 hours minimum after cleaning in South Florida’s humidity, and longer if it’s rained recently. The surface can look dry while the paver underneath is still holding moisture.
Small areas, a single step, a short walkway, or a patio under about 100 square feet, are reasonable if you use a straightforward penetrating sealer. Full driveways and pool decks carry more risk if something goes wrong.
Ask how they handle drying time before sealing, how they remove sand dust from the paver surface, and whether they check for sunken or shifted pavers before starting. Vague or rushed answers are a red flag.
Short, practical articles to help you keep your driveway, patio, and pool deck looking freshly sealed between professional visits.
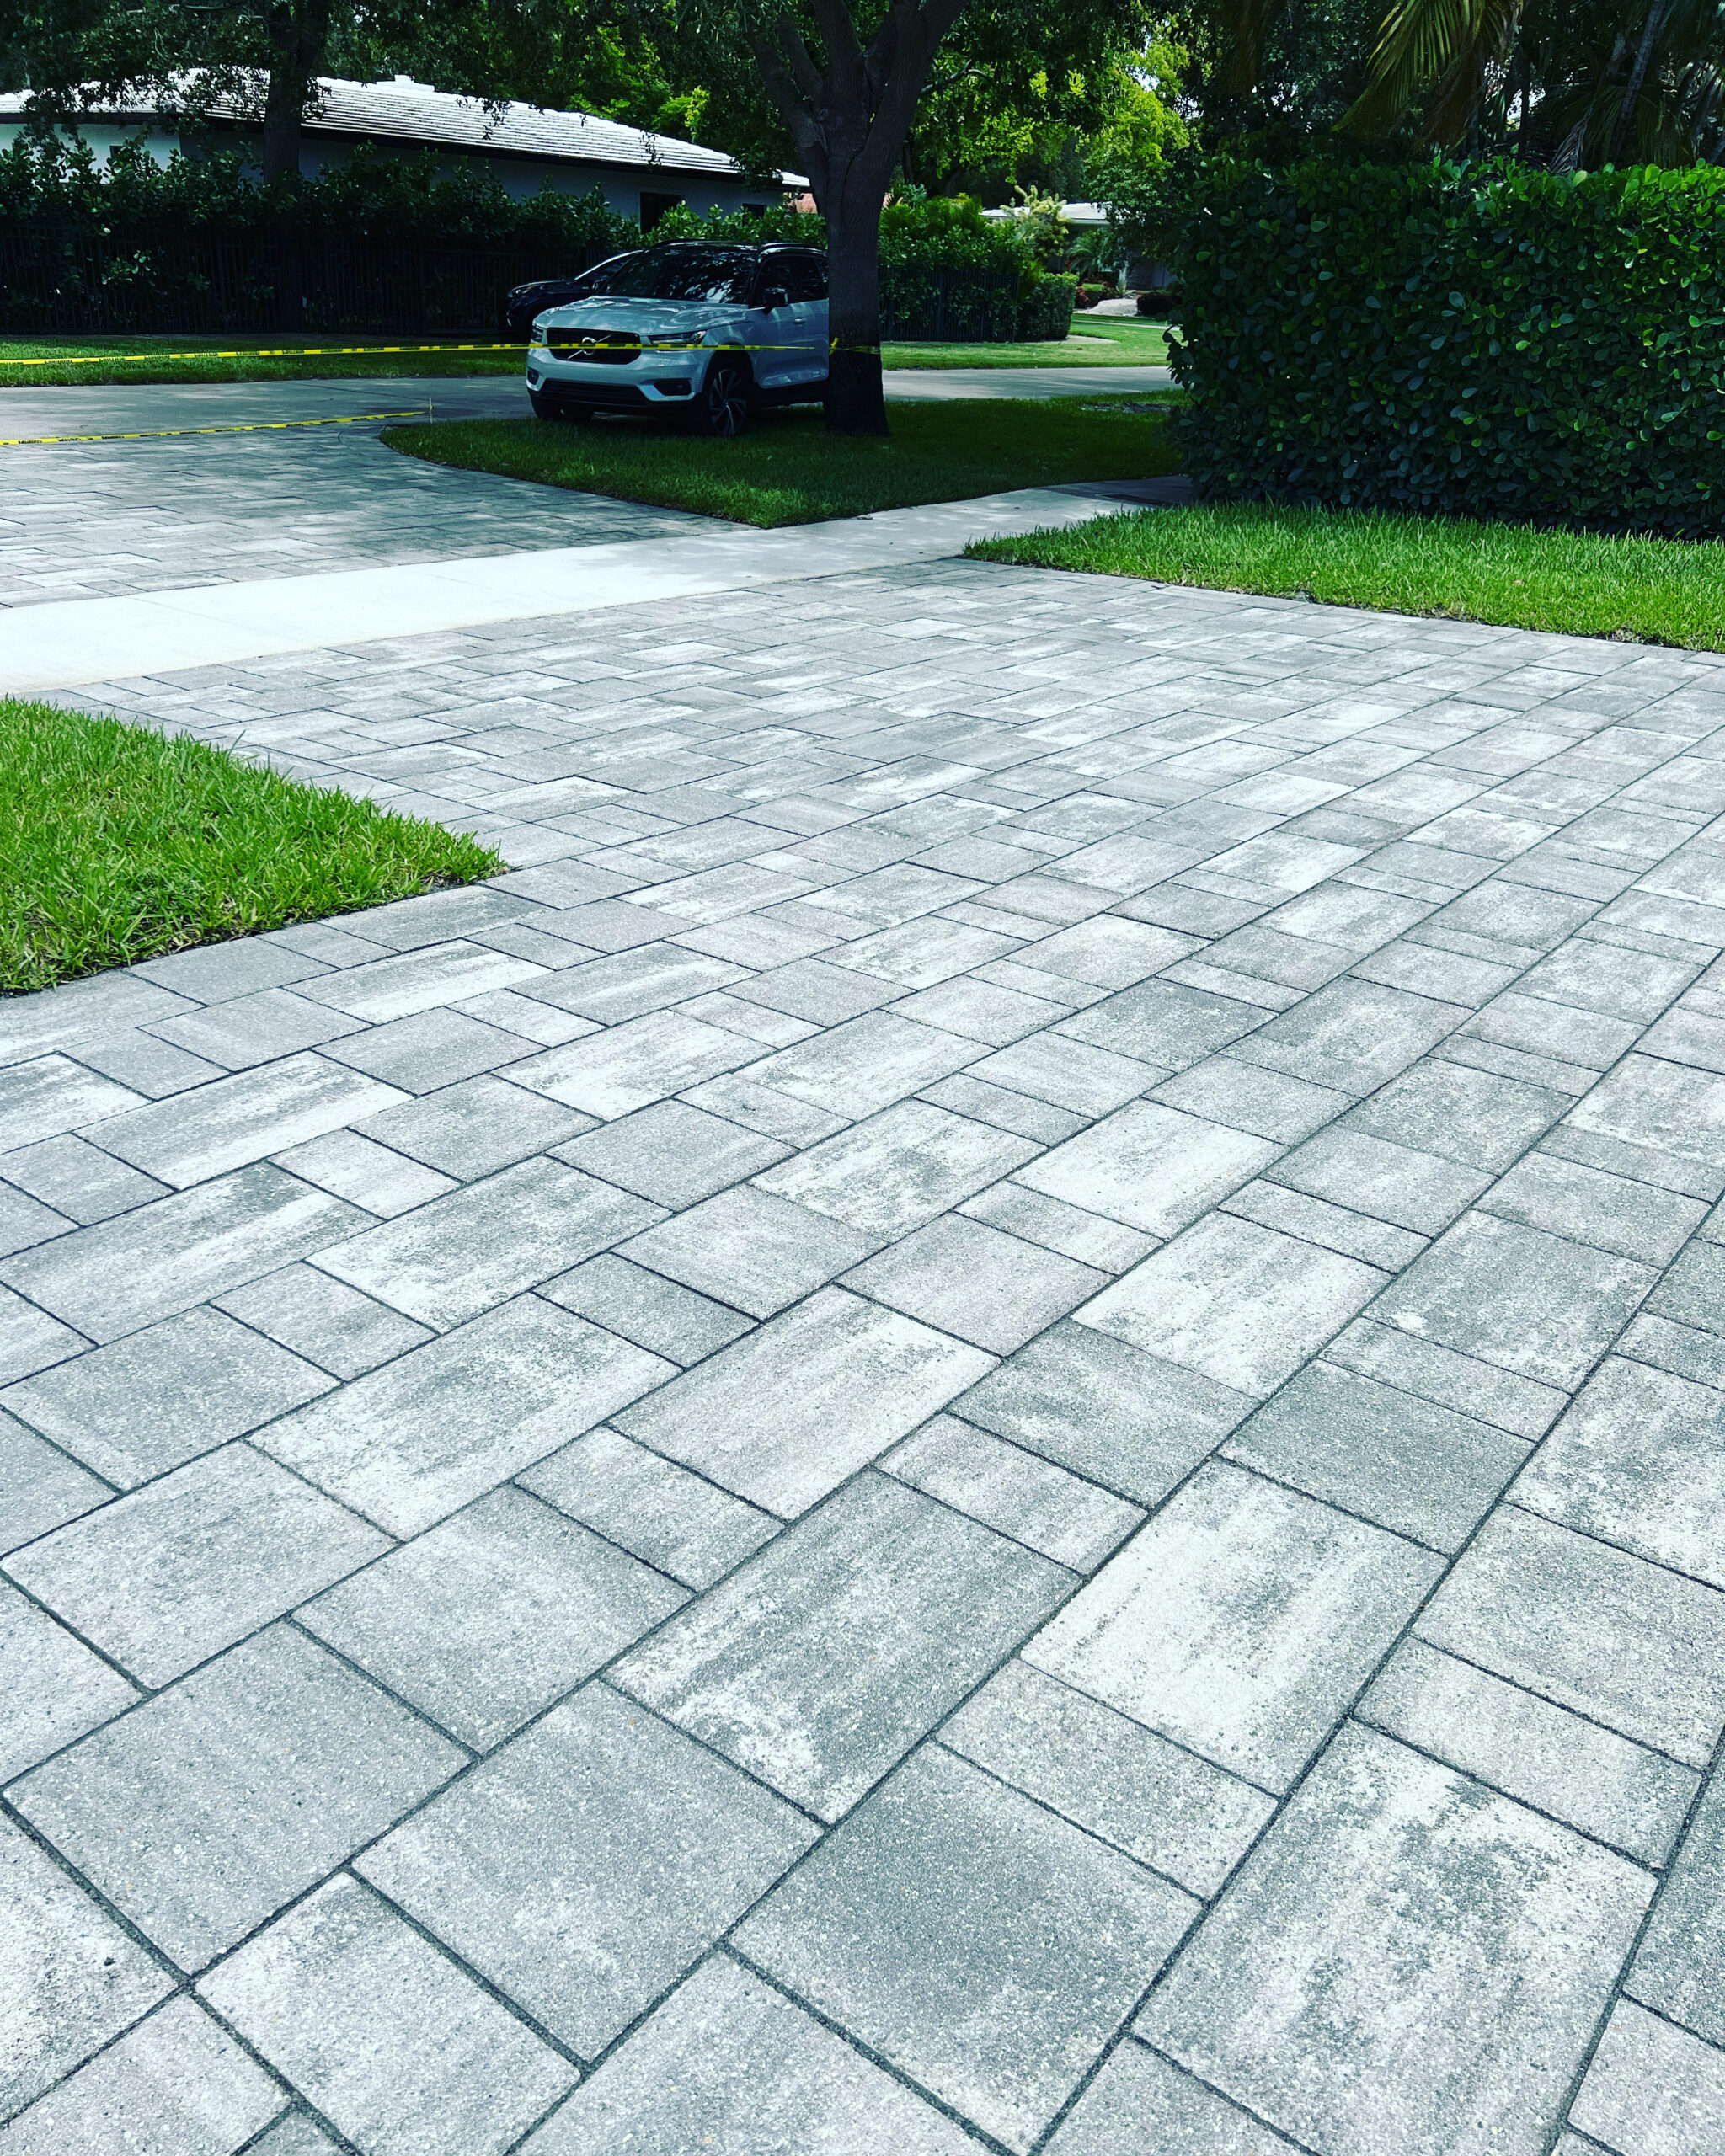
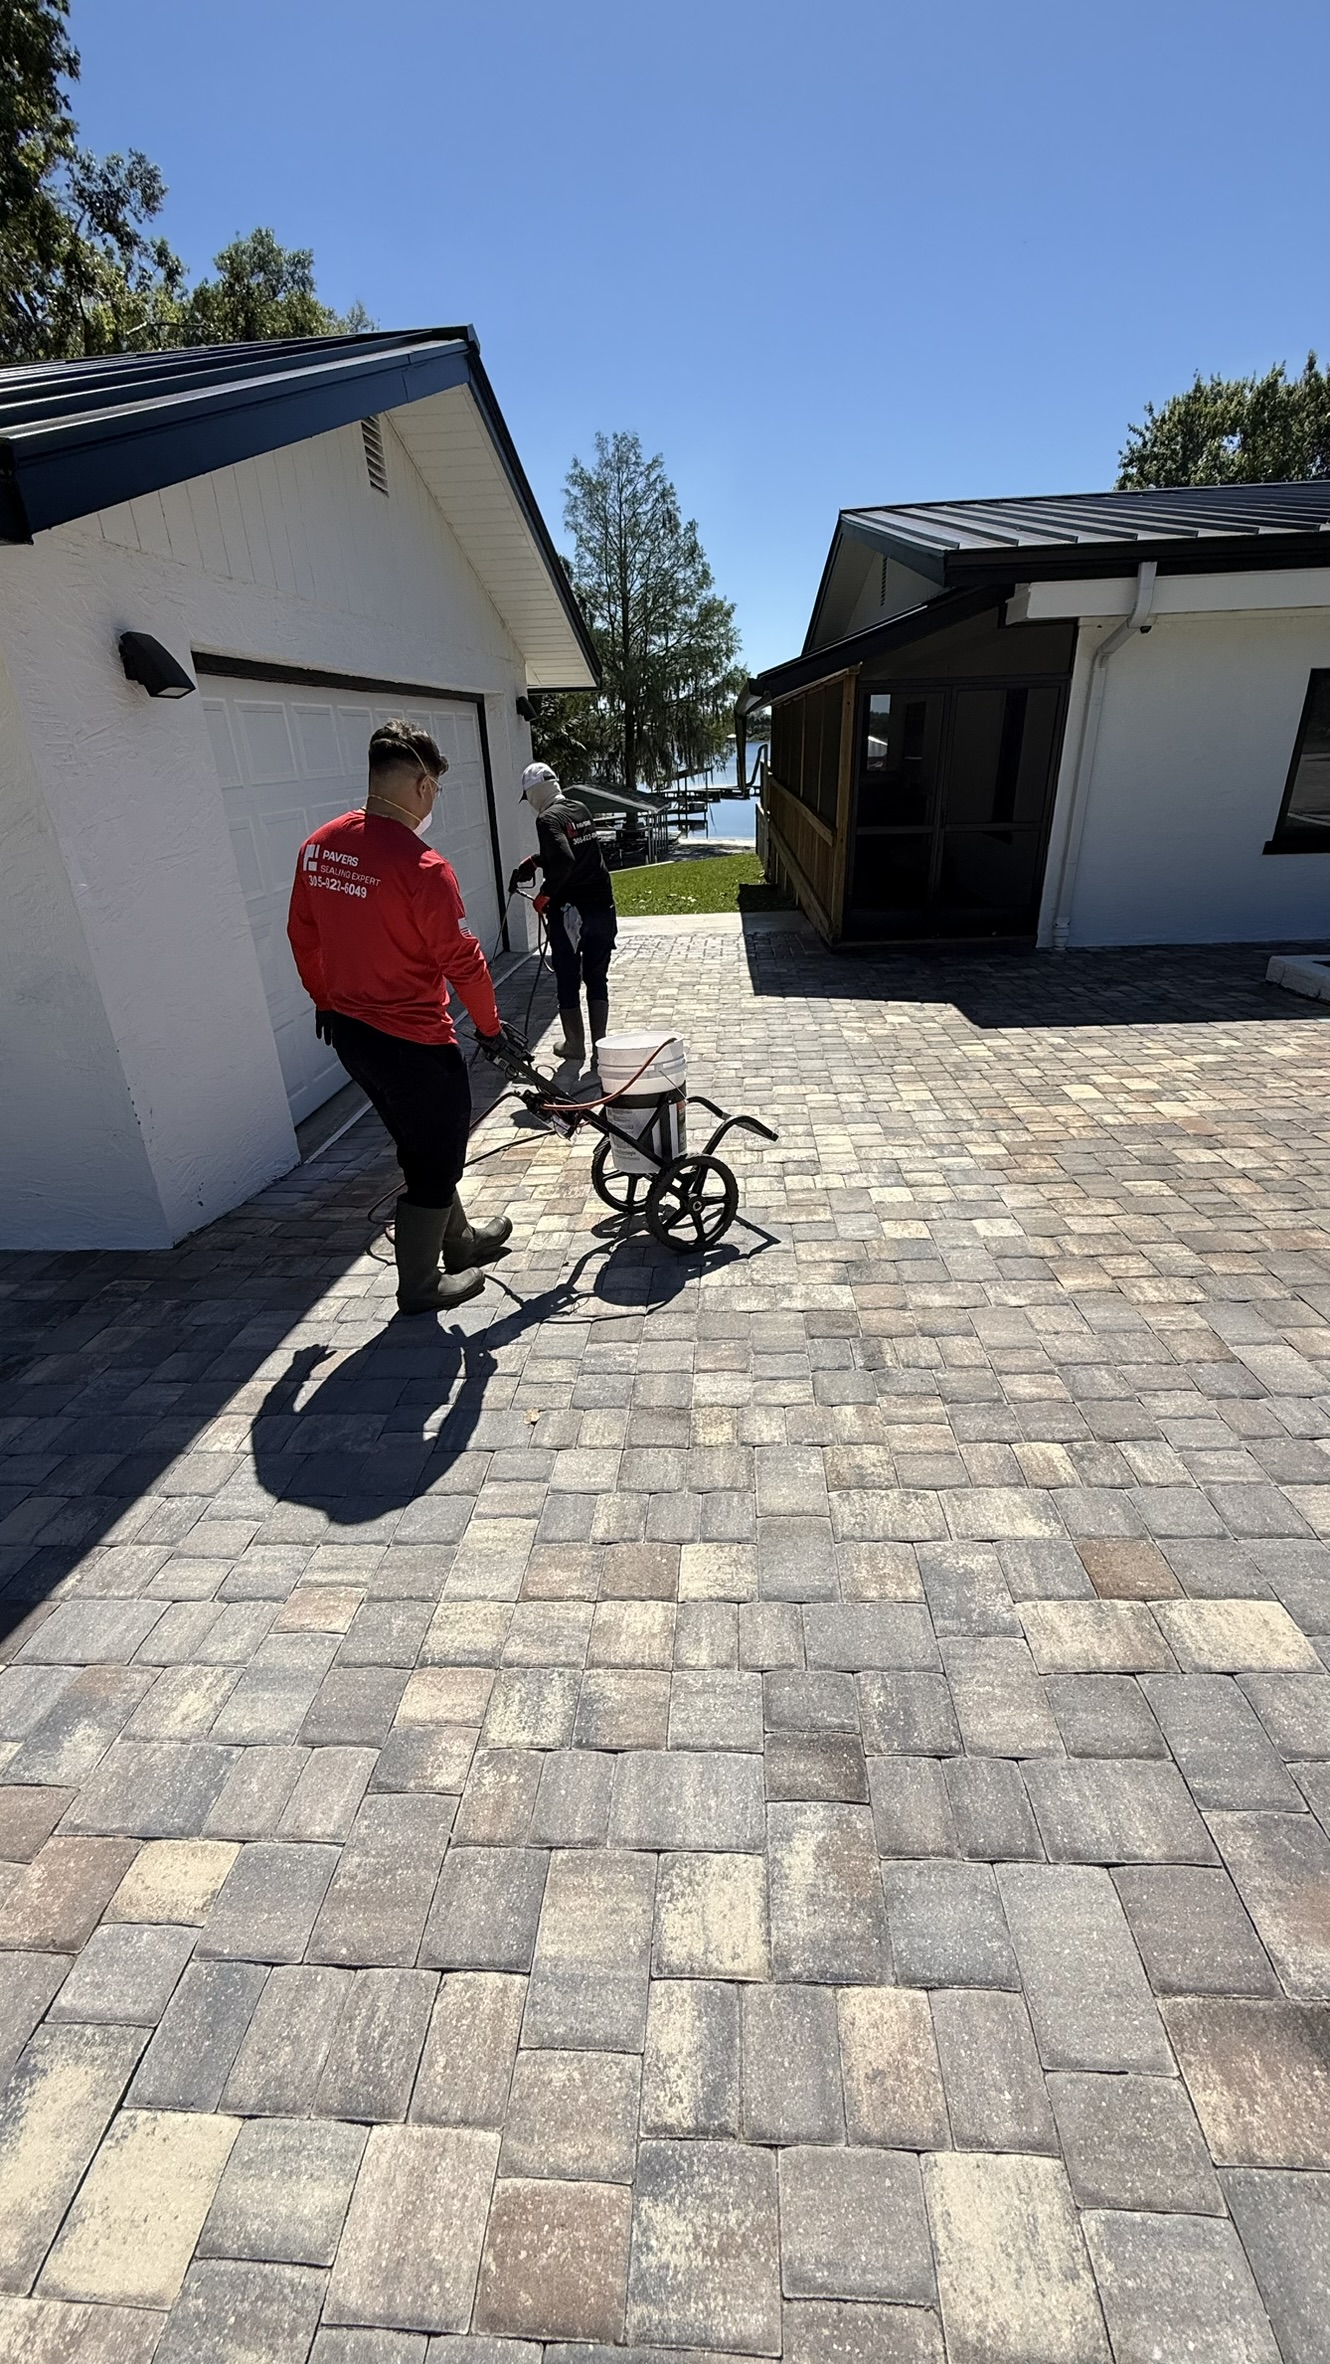
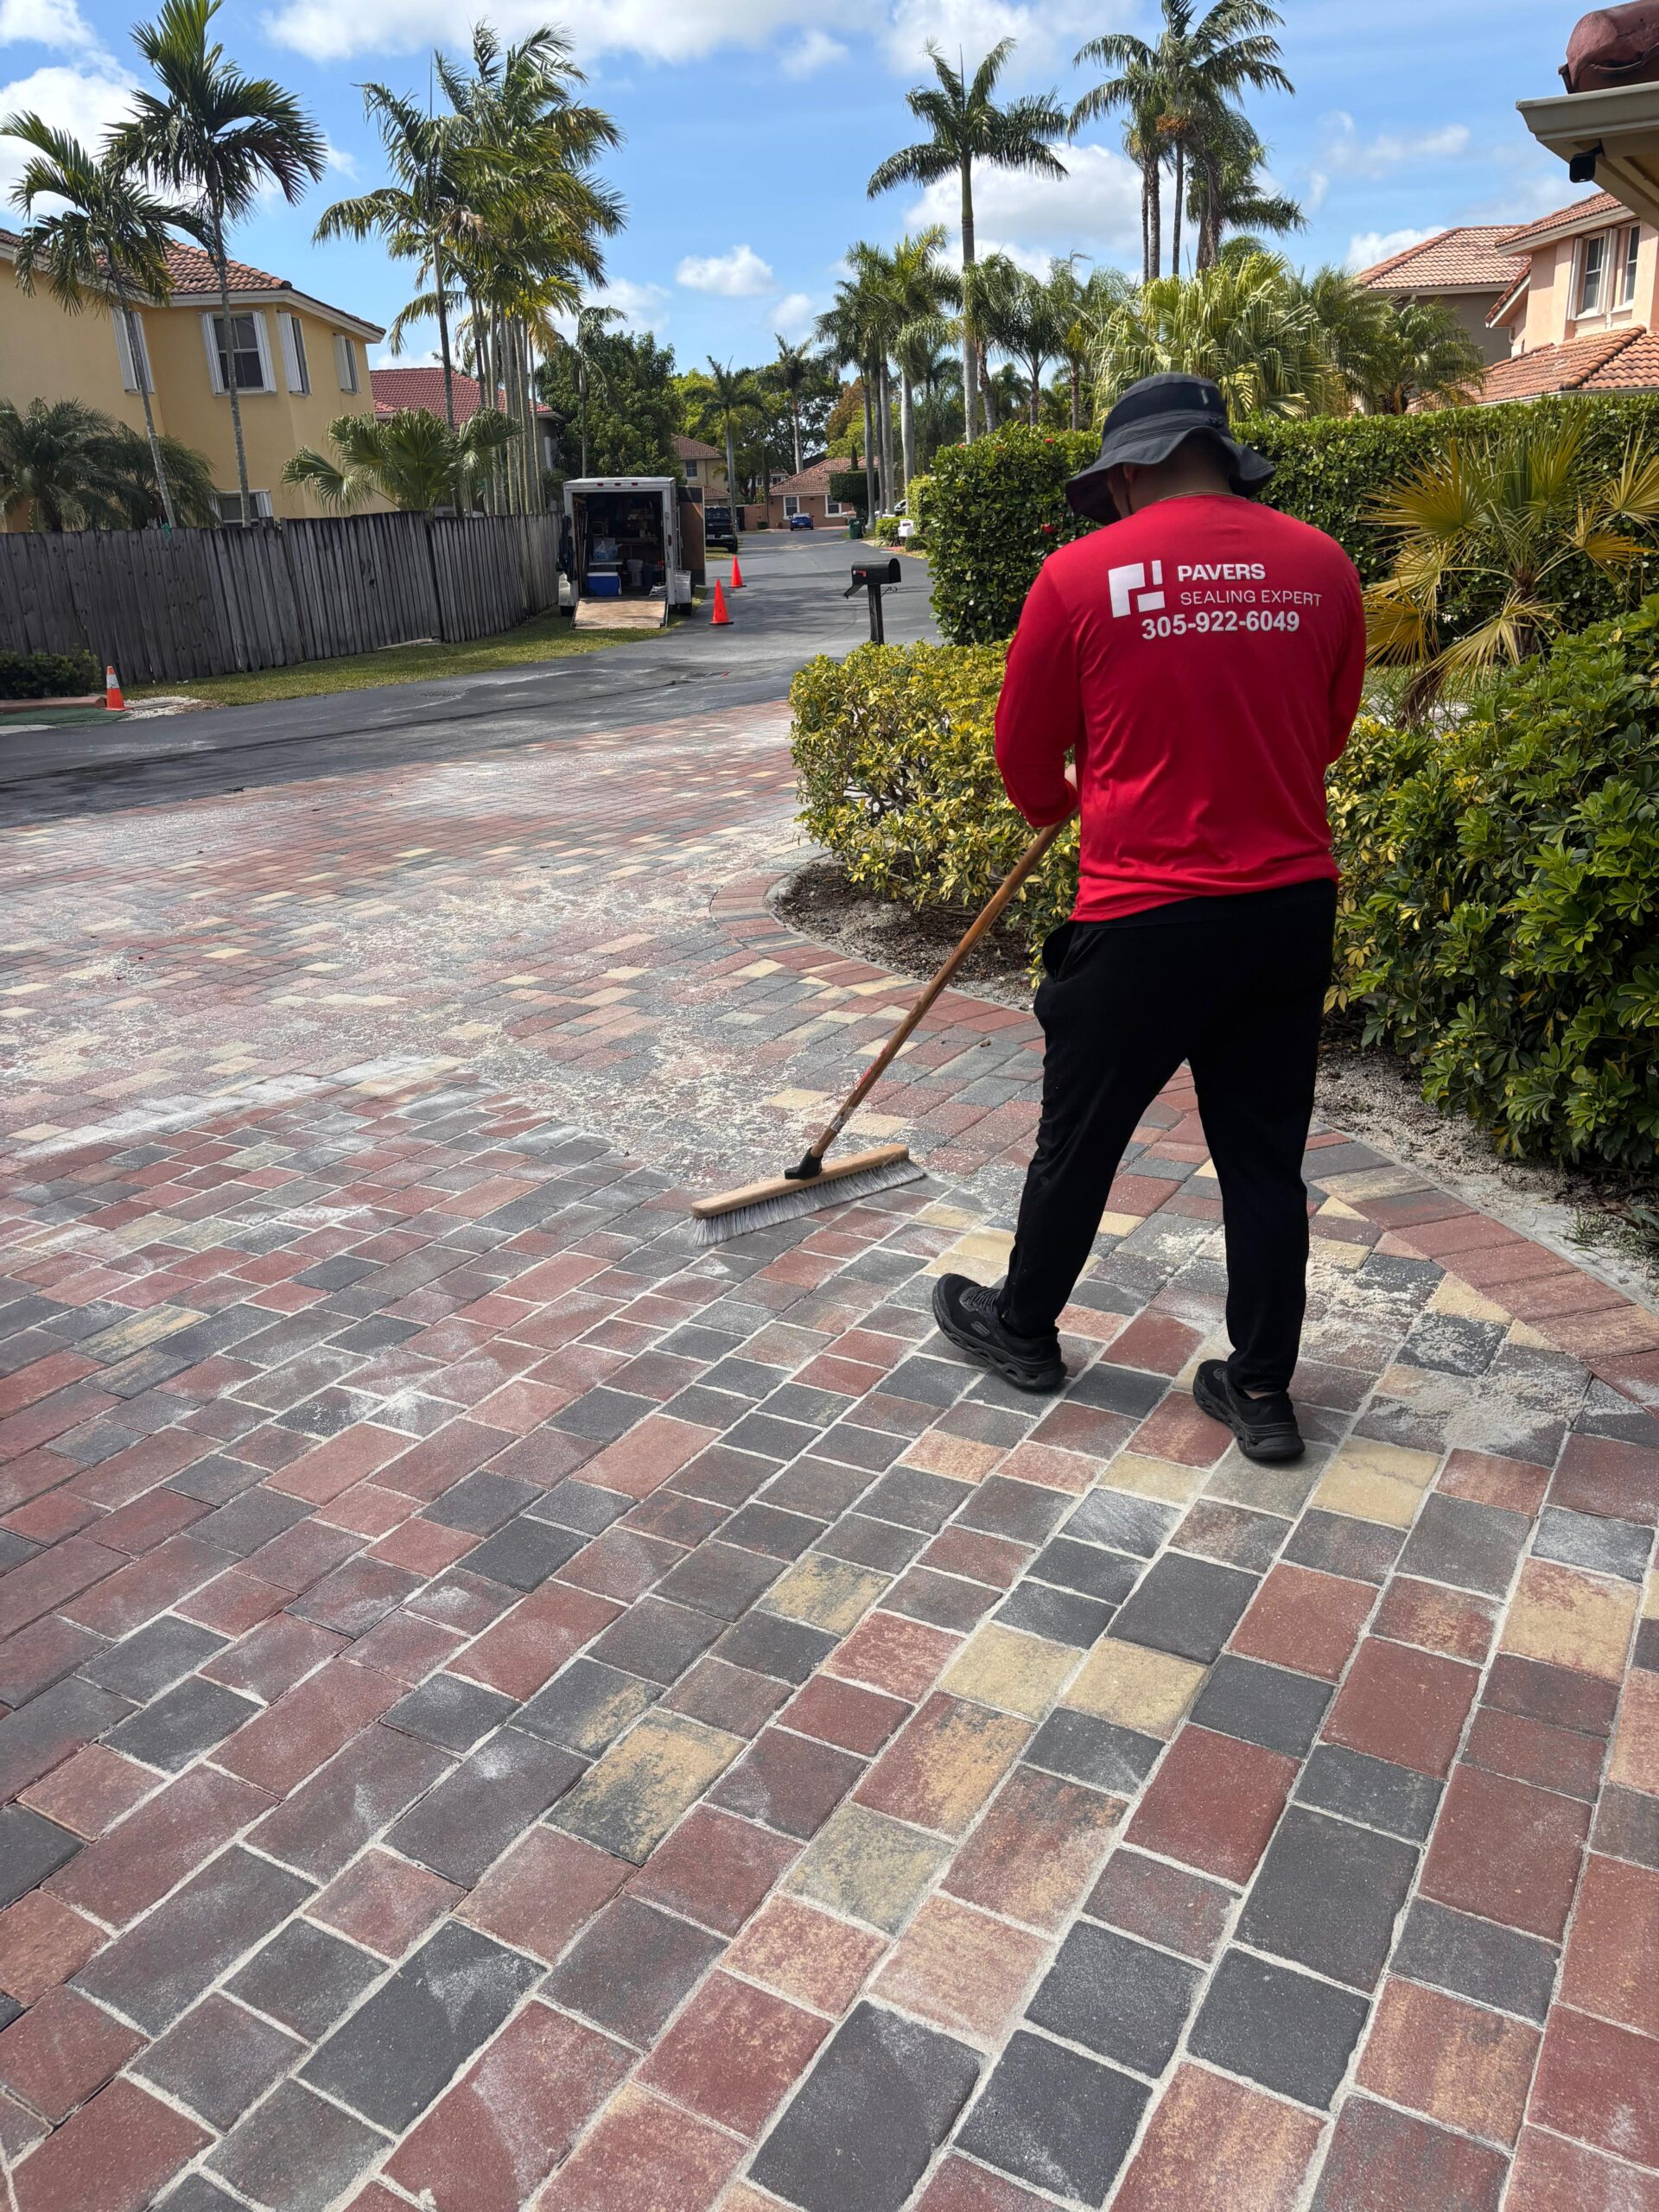
South Florida homeowners trust us to clean, sand, and seal their pavers the right way the first time, here’s what they’re saying after seeing their driveways, patios, and pool decks transformed.
Broward County, Miami-Dade County, & Monroe County